
 Planting Peonies
 Planting Peonies
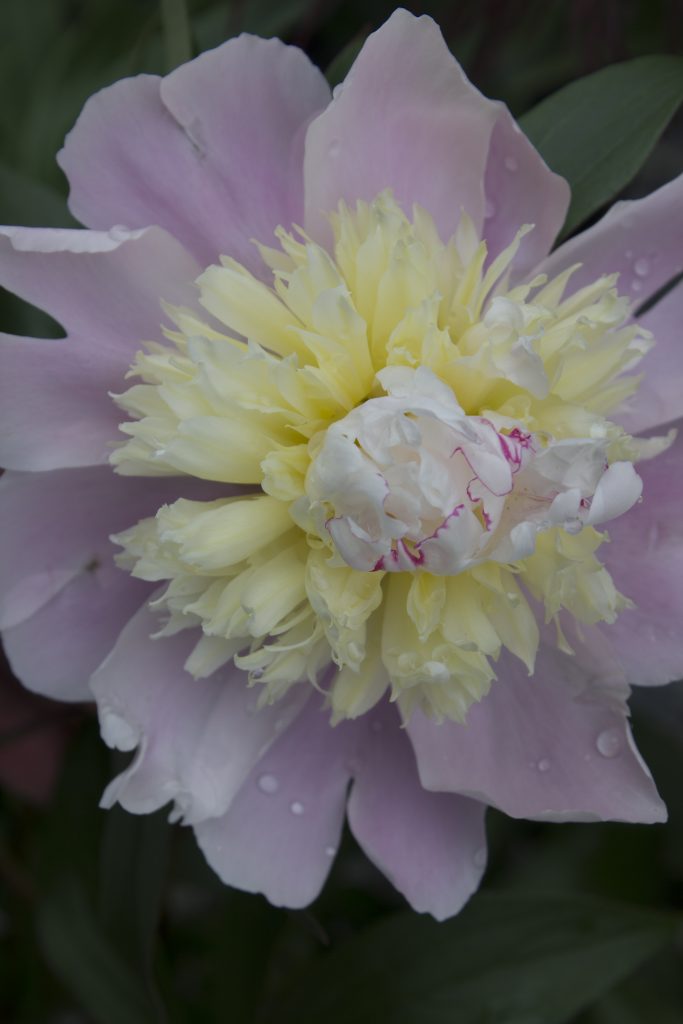
It is the most glorious time of year; the peonies are blooming! If you are anything like me, you simply cannot pass one by without feeling the urge to bury your nose in, and inhale deeply. Their massive size and showy colors offer an impressive and elegant display in your perennial garden and a welcome sign that the summer season is upon us. Peonies are easy to plant and grow and will provide years of beautiful blooms!
Selecting a Peony
Choose a variety that is hardy for your zone. Where I live in Vermont is a zone 4-5 and there are many beautiful varieties of peonies I can safely plant.
Varieties: Peonies come in 8 different shapes, each unique and beautiful. These shapes are created by various petal formations for example some almost look like open daisies while others feature more densely packed petals with a more rose-like form. Most nurseries have tags featuring photos of the blooms, but if not, a quick internet search should provide you an idea of what kind of shape it will have. Fragrance also varies by variety.
Peonies generally begin blooming after 2-3 years. Peonies available in your local garden center or nursery are typically a few years old and may even have buds on them. Look for a peony that appears healthy with green foliage and multiple strong stems emerging from the crown.
Select the Right Location
Light: Choose a sunny spot for your new peony (with at least 6 hours of sun) in well-drained soil. (unless you have selected a tree peony, which prefer less direct sun).
Soil: They prefer a soil pH of 6.5-7.5 that is high in organic matter. If you are unsure of your soil quality, adding some well aged compost and some lime at the time of planting will help ensure your peony has what it needs.
Planting
When planting be sure to dig your hole extra deep and wide. This ensures that the first soil the plants roots will work through is soft enough for easy growth. Work any soil amendments into the soil you have removed from the hole. Back fill enough soil back into the hole that when your potted peony is placed in the hole, the soil level of the pot and the ground are even. Gently remove the plant from the pot and place it in the hole. Back fill your prepared soil filling the hole firmly to the soil level. Water the new planting thoroughly. Be sure to ensure the plant has deep watering daily for the next 10-14 days. Deep watering encourages deep root growth and helps the plant become practically drought resistant once established.
A Note about Bare-Root Stock
If you are planting bare root stock – you want to ensure you have selected roots that feel firm like carrots, with multiple eyes at the crown of the plant. These eyes, similar to potato eyes, will grow longer and become stems. They should be a pinkish red color and will likely be shiny. When planting bare root – you want to ensure that the crown, or where the roots meet to become stem, is planted an inch or two below the surface of the soil. This soil depth requirement will depend on your zone and overall seasonal temperature. If you are in a warmer climate, confer with your local garden center or nursery for location specific tips for your area.
Fertilizing
Peonies will appreciate application of a slow-release, balanced fertilizer like a generic 5-10-5 or 5-10-10 in the spring. A layer of aged manure compost can also be added as a top-dressing to improve the soil’s nutrient content. A small amount of lime and super phosphate can be added in the early fall.
General Care
Blooms can be quite heavy and may require staking. Peony rings are popular as they help support the entire plant to remain upright. Past bloom flowers can be cut back. Be sure to allow foliage to die off before cutting back. Mulch heavily in the fall if winters in your area reach temperatures of -20 F. Be sure to remove this mulch early in the spring to allow new plants to emerge Plants will get larger and can be divided if necessary. This should be done in the early fall. Lift the clump and wash the soil away carefully. With a clean, sharp knife, divide the clump into sections with 3-5 eyes and roots. Plant right away ensuring to bury the crown only 1-2 inches below the soil.